How to Make a Paper Plane
Materials needed - Equipment
A-4 paper
Step 1 - Fold the paper in half
Step 2 - Fold the top corner to meet the centers
Step 3 - Fold the down point
Step 4 - Fold the new corners
Step 5 - Fold up the point that has being covered from the previous step so that - Secure the flaps against the crease.
Step 6 - Fold the paper in half along the original center fold. All the folds made in the previous steps should be facing outwards. The small triangular fold is now along what will later be at the bottom of the plane.
Step 7 - Create the wings. Fold both side flaps down to the bottom. That main centre folds the line so that the long edge of the wings are perfectly angled with the bottom of the airplane.
Step - 8 Angle the wings: Unfold the wings slightly so that they are perpendicular to the body of the airplane and form a flat surface next to each other.
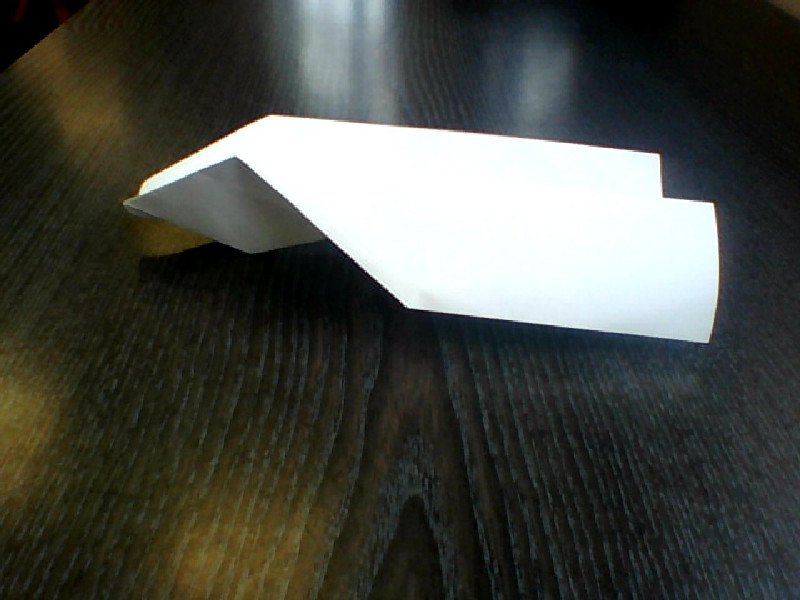
You're done !!! Test fly your airplane. Start with a gentle toss to see how your plane glides through the air. Experiment with more aggressive throws to see how high and far your plane will travel.
This is what your Paper Plane should look Like
Reminder:
You can do this again if you get it wrong
Today I have made a DLO of how to make a paper plane. I watched the video carefully to see what I could put on on the document. I put a picture of my paper plane to see what your paper plane looks like.
betmatik
ReplyDeletekralbet
betpark
tipobet
slot siteleri
kibris bahis siteleri
poker siteleri
bonus veren siteler
mobil ödeme bahis
EE1
شركة صيانة افران بالاحساء opl3i9h9Oe
ReplyDeleteشركة صيانة افران بالاحساء
ReplyDeleteiKwimgQcEr
شركة صيانة افران بالقصيم
ReplyDeleteUvW4EiWrlb
كشف تسربات المياه الدمام
ReplyDeleteOAsOqEEx6Y
مكافحة حشرات الدمام
ReplyDeleteEJFWDQgTCN
شركة تنظيف موكيت بالقطيف
ReplyDeletek1hGLiBPaMjz